Creative work keeps getting more specialized as different kinds of teams (especially in game development) create workflows that are unique to their own projects, skillsets, and so on. So personally, I think that tool customization is going to be increasingly important to how teams stay productive.
Meanwhile over the years various Adobe apps have offered a few different ways to make custom panels and extensions, but since the CC release we’re getting closer to having a cohesive way of making extensions that (A) work across a wider range of tools and (B) have UIs built on the HTML5 stack. The team recently put up a new preview release of this tech on Adobe Labs, which I’ve been playing with it a lot of the past few weeks, so I thought I’d post a writeup and some commentary.
Installation
First off you’ll need some form of Eclipse, version 3.6 or later. You can install it fresh, or use any existing version (even Flash Builder).
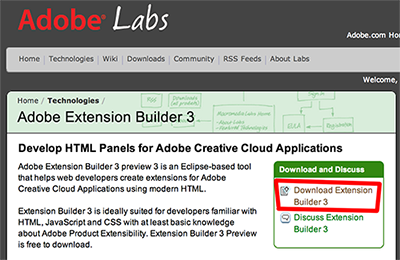
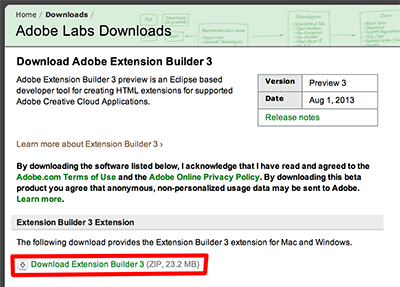
Next head over to labs.adobe.com, find the Extension Builder preview, and download it.
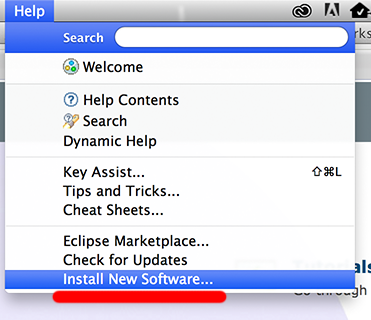
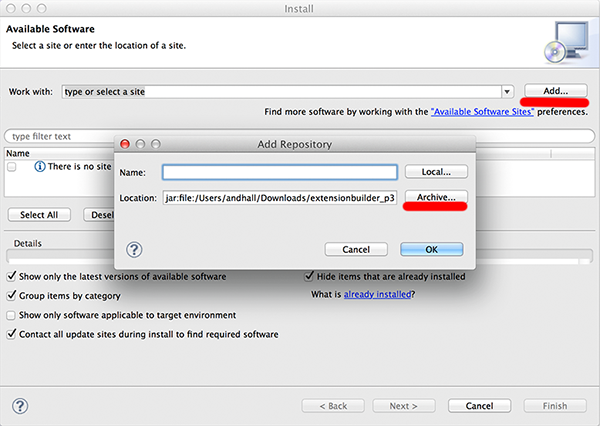
Select Add > Archive… and then select the extension builder package you downloaded.
Select the checkbox for the extension builder, then hit Next
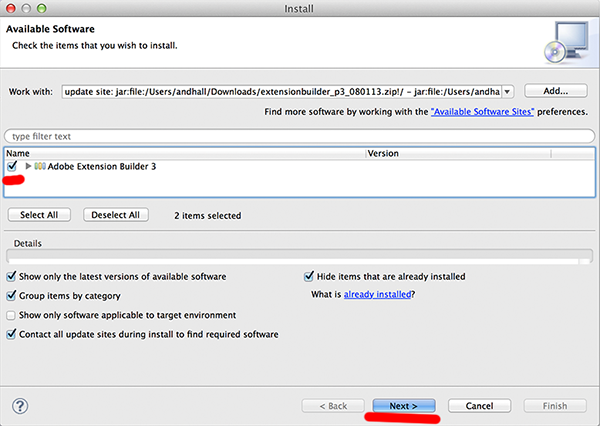
Hit Next, accept the license, then Finish. Eclipse will install the plugin and then restart.
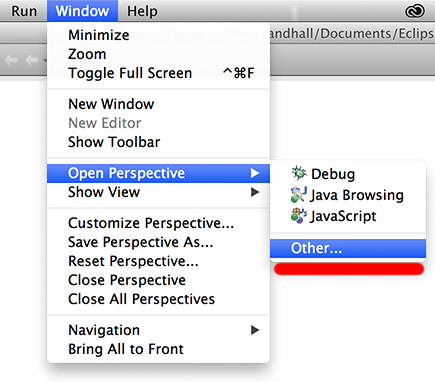
To use Eclipse for extension building, hit Window > Open Perspective > Other, and then choose Adobe Extension Builder 3.

Your development environment is now squared away, so let’s make an extension.
Creating an Extension
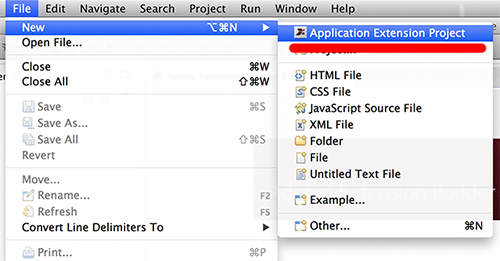
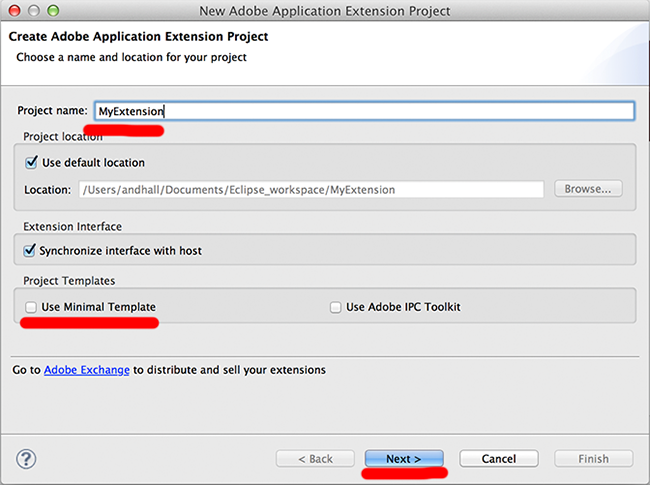
Enter a project name and choose Next. Take note of the “Use Minimal Template” option - if you leave this empty, your project will start with a simple “Hello world” files set up. If you select this, you’ll get just the base files with no contents.
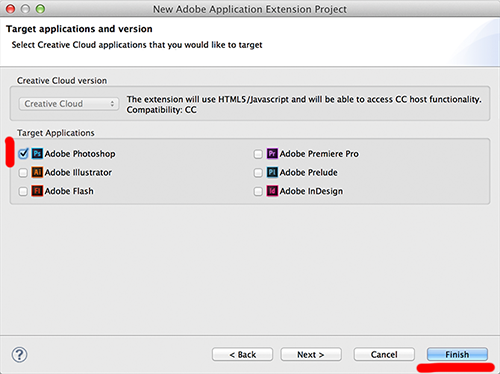
Next choose which CC tool you’ll target. Note that not all the tools you see in the list necessarily support HTML panels yet - in some cases (Flash for example) you can build the panels now but the ability to use them will be coming in a future update. Photoshop CC is one tool that already supports these extensions, so for now just choose Photoshop.
You now have a basic project to poke around in and tweak. Note that in the default (non-minimal) template, you’ll find some .JSX files - these are just JavaScript, but they’re named that way by convention because they’re intended to be executed by the native CC tool container. I’ll go into more detail on this in my next blog.
To see the extension in action, hit the green Run button, Run As > Photoshop Extension. Once you select this Photoshop CC will start (it will first get shut down if it was open already).

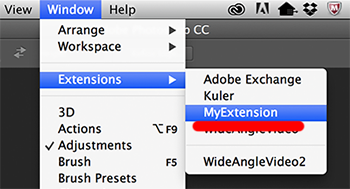
Your extension can be found in Photoshop under Window > Extensions.
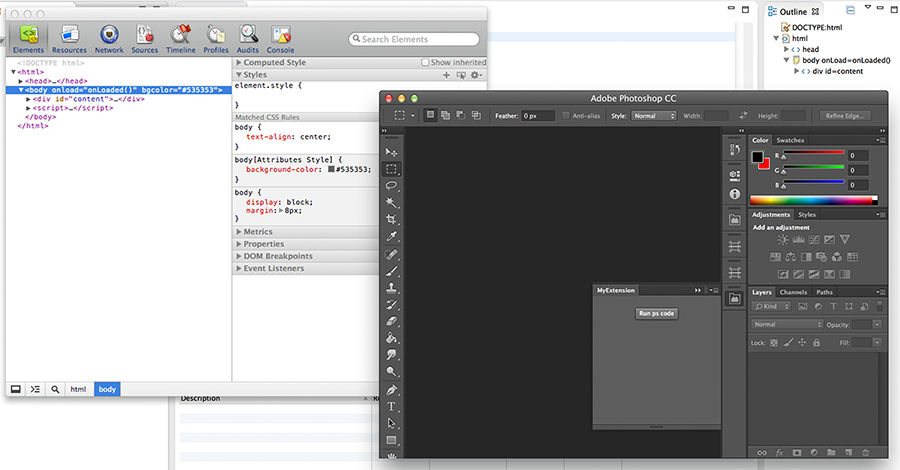
Debugging extensions is dead easy - just choose Debug As.. instead of Run As. Your extension will run, and in a separate window you’ll get an HTML inspector that’s very similar to what you’ll find built into Chrome or Firefox, complete with a JS console, tools to set breakpoints, and so forth.

From here on in, developing your extension’s UI is no different than standard HTML/CSS/JS development (except that you don’t have to worry about users having wonky browsers.. wink). But there are several things you’ll need to know about calling native functions of the CC tool, which I’ll cover in my next blog post.
